Chickpeas are a nutritious and useful seed. They can be consumed on their own or added to salads, or other vegetable dishes of your choosing.
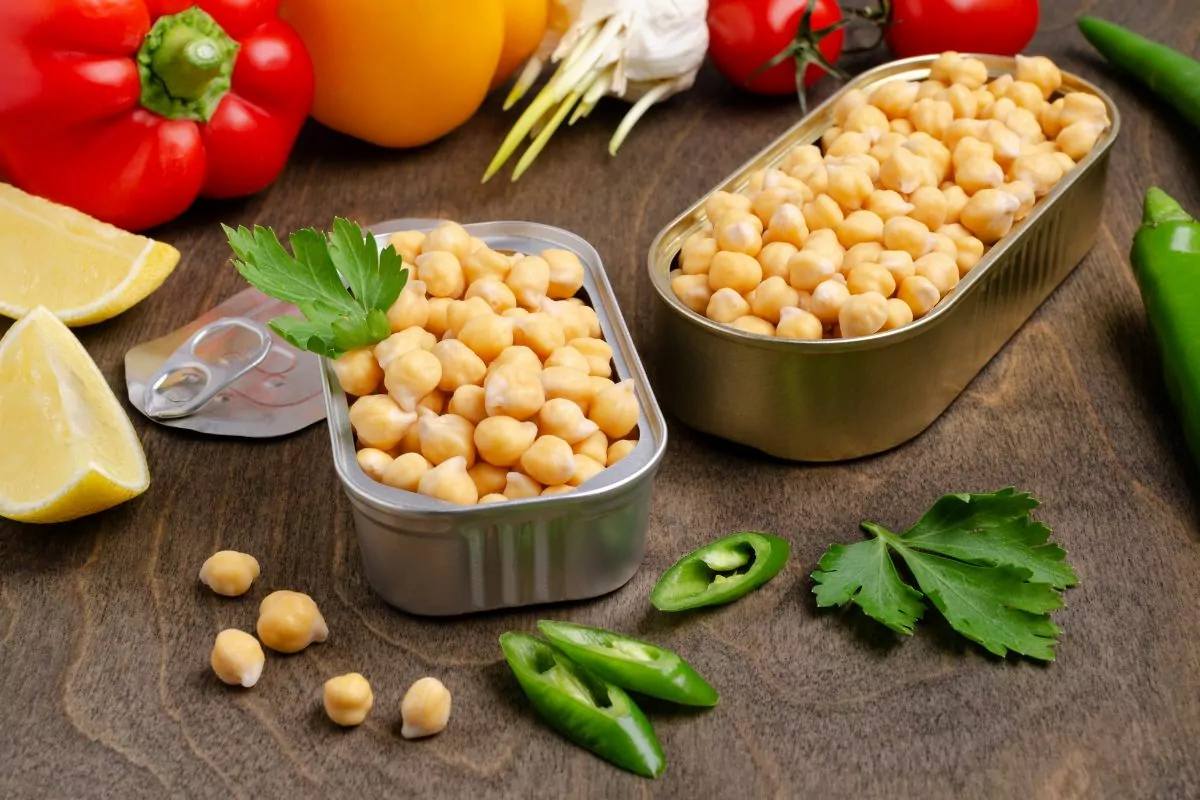
Additionally, it takes little time to prepare and cook canned chickpeas. You may make your own chickpeas by simply boiling them, microwaving them or baking them.
As you can see, canned chickpeas are really easy to cook and can be applied to a broad range of meals. Not only do they taste great, but they provide a softer texture to your meals.
In this article, we will discuss all the methods of cooking canned chickpeas, so you can do it for yourself at home.
What Is A Chickpea?
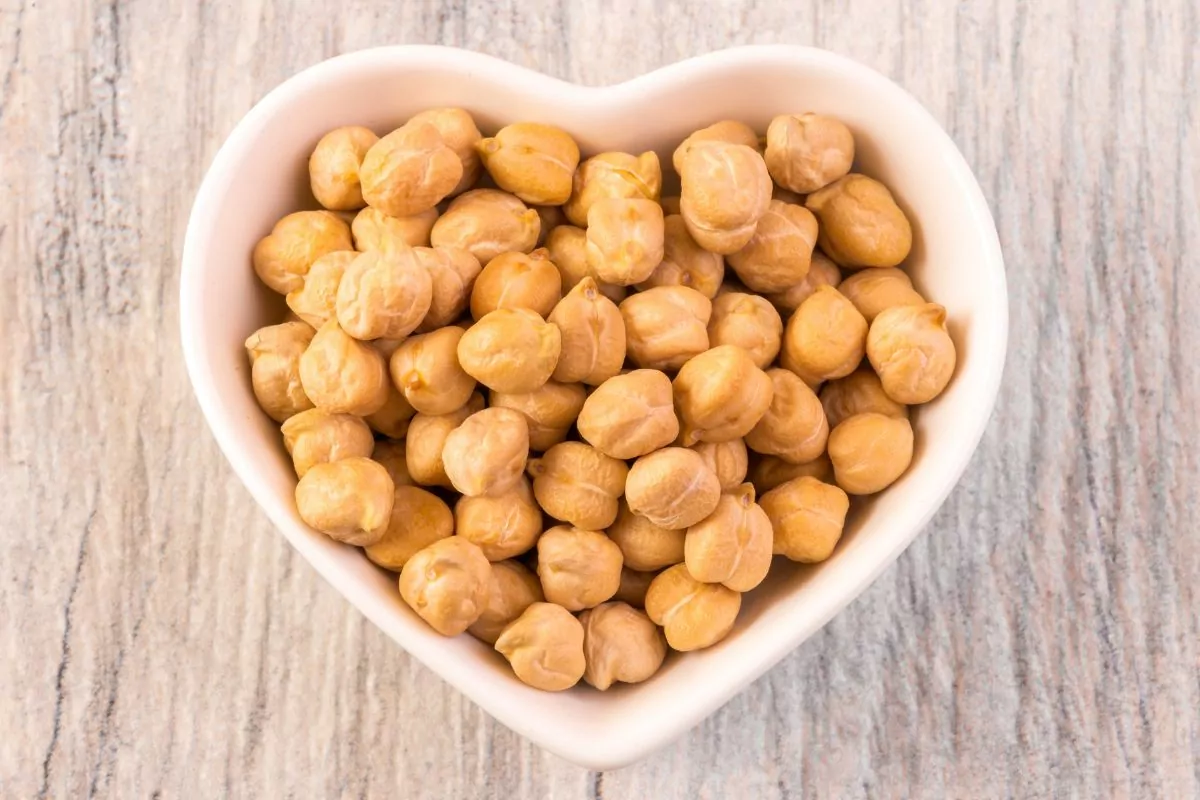
A chickpea is a round, yellowish seed. Numerous middle eastern recipes feature chickpeas, and they are delicious in a variety of dishes.
Chickpeas are a fantastic source of protein and fiber. In addition to being a great source of iron, potassium, calcium, phosphorus, zinc, vitamin B6, vitamin C, folate, magnesium, and vitamin B6.
Can You Eat Raw Chickpeas?
Yes, eating chickpeas directly from the can is completely safe. The chickpeas are sufficiently cooked during the canning process.
Therefore, they are both safe to eat and soft enough to chew. As a result, you may add them to your dinner straight from the can if you don’t want to prepare them.
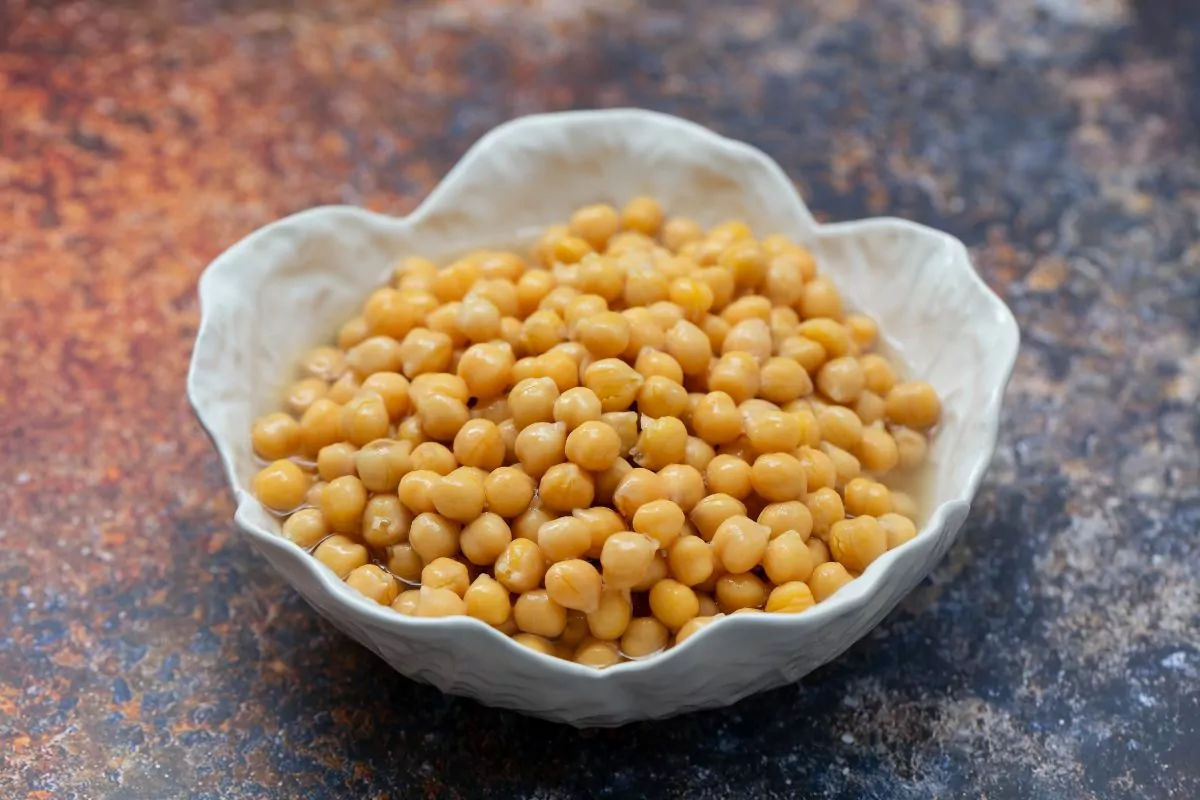
Boiling Canned Chickpeas
Step 1: Drain The Chickpeas
To extract the bulk of the aquafaba, the thick, gooey liquid in the can, pour the chickpeas into a colander and softly shake it.
When the majority of the aquafaba has been removed, place the sieve in the wash basin and leave it there.
Step 2: Rinse Your Chickpeas
Now it’s time to rinse the chickpeas using some cold water. Once all the aquafaba has been eliminated, keep the water running.
Take your hands and roll the chickpeas around as they are being rinsed to hasten the process. To clean them more quickly, use the maximum water pressure you can.
Step 3: Place The Chickpeas In A Pan
In a skillet, pour the chickpeas. Lay them out in a single layer. To guarantee consistent cooking, the chickpeas must be spread out into a single layer.
Over the chickpeas, pour water. How many chickpeas you’re cooking, will determine how much water you need. Pour just enough liquid to completely cover the chickpeas, so they don’t float.
Step 4: Cook The Chickpeas
Over medium heat, preheat the pan for five minutes. Watch the pan carefully while it cooks. Reduce the heat if water begins to boil over the pan’s top.
Strain the chickpeas once they have been boiled for a few minutes.
After straining, if the chickpeas are still wet, dry them using paper towels or a fresh kitchen towel. Now you have soft and tender chickpeas to add to your meal.
Baking Canned Chickpeas
Step 1: Preheat Your Oven And Prepare Your Chickpeas
Set the oven’s temperature to 365 °F (185 °C). To simplify the process, preheat your oven as you prepare your chickpeas.
Strain your chickpeas and dry them on fresh dish towels or sheets of paper towels. Replace the towels with fresh ones if they become too soggy and can no longer dry the peas.
To become crispy in the oven, the chickpeas must be dry. They may get mushy if they are still wet when placed in the oven.
Step 2: Arrange Your Chickpeas
On a baking sheet, spread out the chickpeas. Ensure they are in one single layer, otherwise they won’t cook evenly if they overlap.
Add olive oil to the chickpeas. To ensure that all chickpeas cook uniformly, be sure to completely cover them with oil. The chickpeas’ flavor and texture are both improved by the olive oil.
If desired, season the chickpeas. Chickpeas can be seasoned in a variety of ways, but the most popular is to top them with chili flakes and ground coriander.
However, since chickpeas already have a large amount of sodium. It’s important to avoid flavoring them too heavily. Consider putting some garlic powder, salt, and pepper on top of the chickpeas.
Step 3: Bake Your Chickpeas
Carefully insert the tray into the oven. Then set a timer for one hour.
Keep an eye on the chickpeas as they cook in case anything goes wrong. After an hour, if the chickpeas are still not crispy, let them cook for an additional hour.
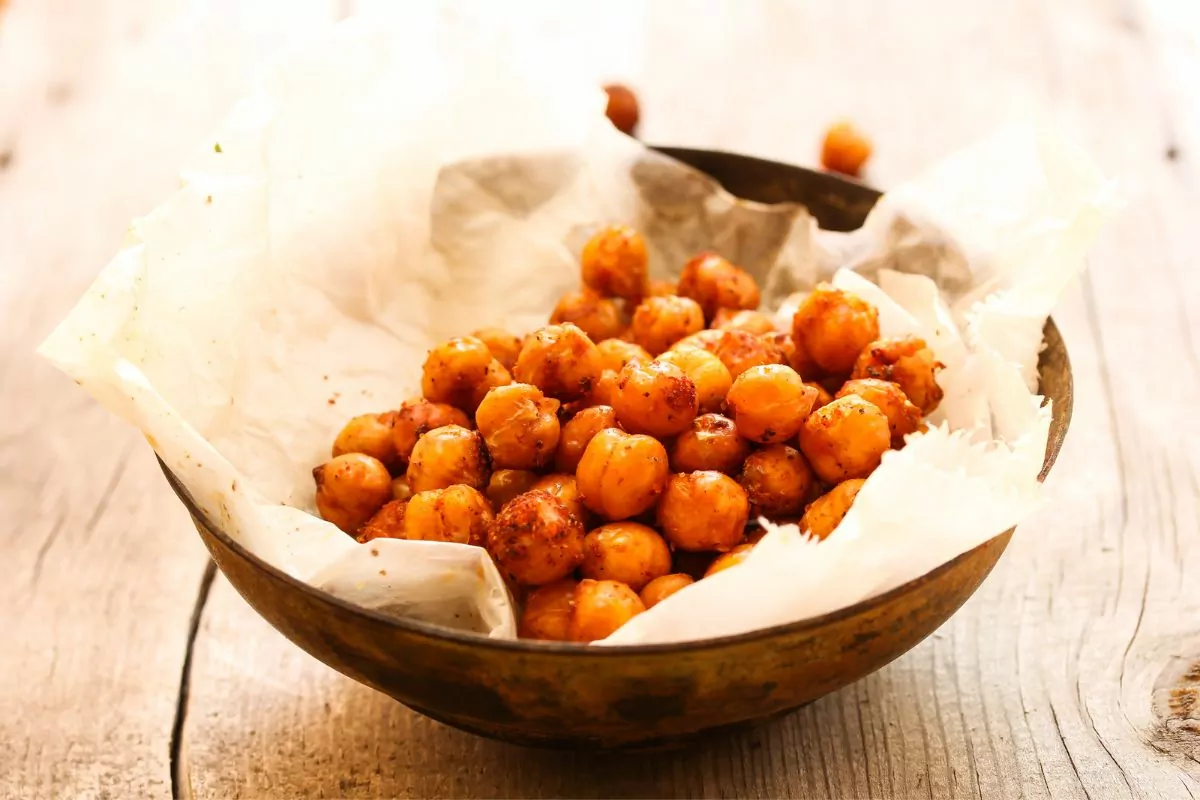
Once crispy, they can be removed from the oven and served with any dish.
Microwave Canned Chickpeas
Step 1: Combine Chickpeas And Oil Together
In a bowl, combine your chickpeas and a tablespoon of oil together. It is up to you what type of oil you use, but you want to ensure all the chickpeas are covered.
At this stage, you can also season your chickpeas as well.
Step 2: Place The Chickpeas On A Microwave Safe Plate
Transfer your chickpeas to a microwave safe plate. Ensure they are all placed in a single layer, so they all cook evenly.
Step 3: Place Them In The Microwave
Now you can microwave the chickpeas for 3 minutes. Keep an eye on them as they cook.
After this, take the chickpeas out and give them a slight shake. Now put the chickpeas back in the microwave for another 3 minutes.
After this, your chickpeas should be ready. They will have a slightly crisp exterior, but will be soft in the middle.
Conclusion
Chickpeas are a really healthy and versatile ingredient to use in your cooking. In addition to that, there are 3 main ways you can cook them, which will provide you with different results and textures.
They are a delicious ingredient that are enhanced by the seasoning applied.
We hope you have found this article useful and discovered a new way in which you can cook your canned chickpeas.
- Cucumber, Apple And Pineapple Juice - September 12, 2022
- French Toast Without Eggs - September 12, 2022
- Cook Canned Chickpeas - September 12, 2022

